Last updated: 2026-01-23
Quickstart (Free plan)
With Bootify you can create your custom database model with REST API and frontend online, explore the generated code and download your runnable Spring Boot application. This page gives a quick overview of all the features in Bootify's Free plan.
There is also a great introductory video on YouTube by Siva.
Start project
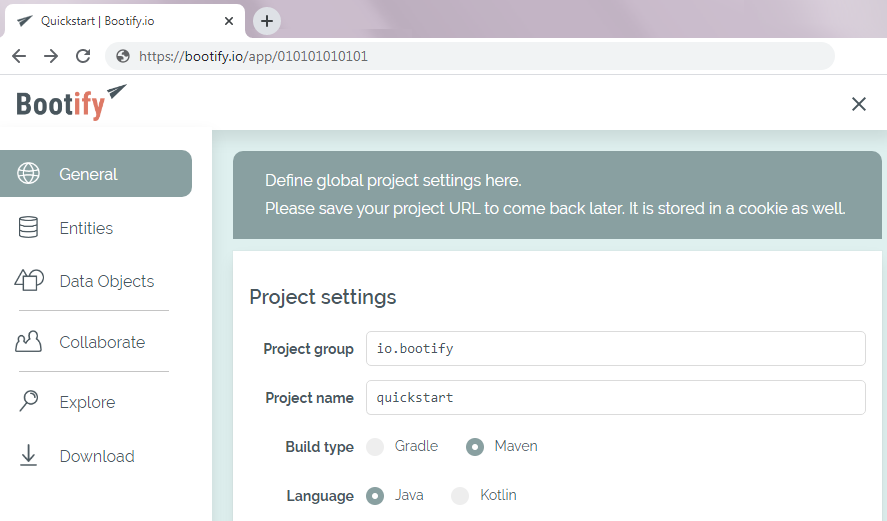
In the Free plan, no registration is required - start your Project right away. Your project URL is saved in a cookie, but keep a backup as well.
1. Choose your preferences in the General tab
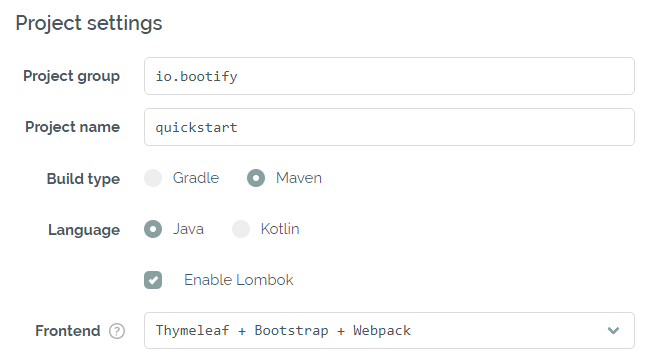
Project settings
Define project group and name, select Gradle or Maven as your build tool,
choose between Java or Kotlin and enable Lombok for the
generated code. Select Thymeleaf, jte, Angular or React as your frontend stack if required.
The most recent version of Spring Boot is always used (currently 4.0.2).
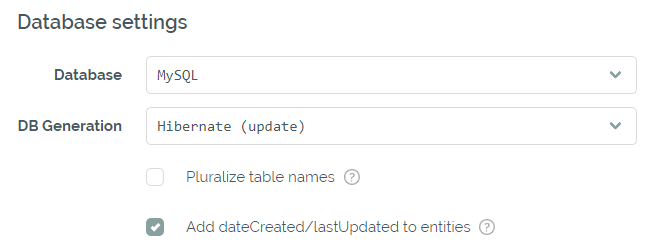
Database settings
Select your relational, document-oriented or embedded database
(PostgreSQL, MySQL, MariaDB, Oracle, MS SQL, MongoDB, Derby, H2, HSQL).
Let Hibernate generate the schema (ddl-auto=update) or
only validate it (ddl-auto=validate).
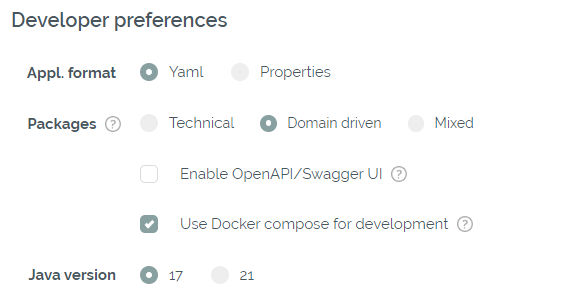
Developer preferences
Choose further preferences for your generated code:
Use application.yml or application.properties for the
application settings. Structure your code by domain,
make Swagger UI available in your running application or
enable spring-boot-docker-compose plugin.
Dependencies
Bootify automatically adds required dependencies for your selected options, like the Spring starters and JDBC driver. Search and select additional dependencies on top.
2. Create your custom database in the Entities tab
Add Entities
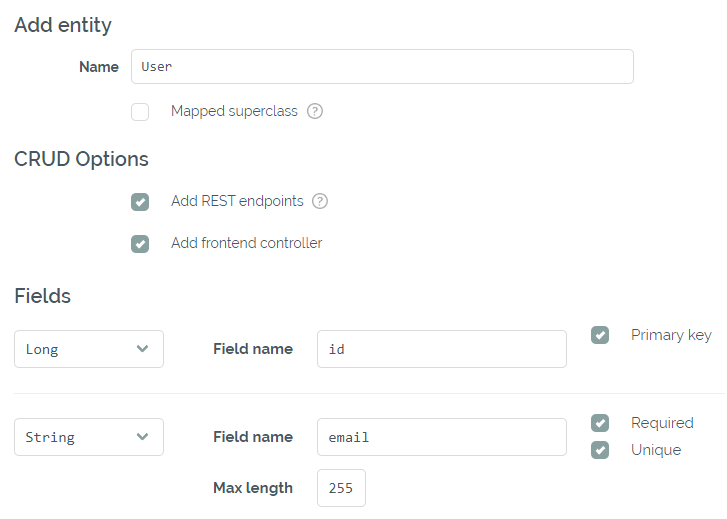
Add your tables in the Entities tab. The primary key can have the
type Integer, Long, UUID or String, while
the other fields can be required or unique and have more types to choose from.
When the REST or frontend option is enabled, controllers, services and data transfer objects
are added to your code to provide basic CRUD operations. Add and inherit from
mapped superclasses.
Add Relations
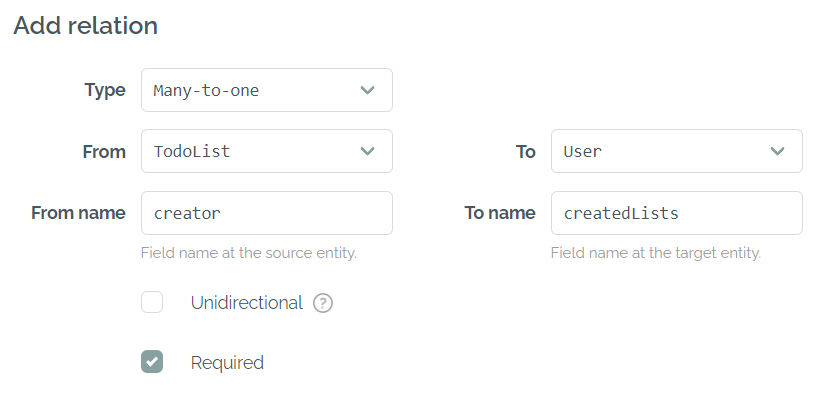
Connect your entities with Many-to-one, One-to-many, One-to-one and Many-to-many
relations. The given name is used as the field name in the Java class (for example "creator")
and "_id" is added to the column name at the database (for example "creator_id").
DocumentReference is used for MongoDB.
Import an existing schema
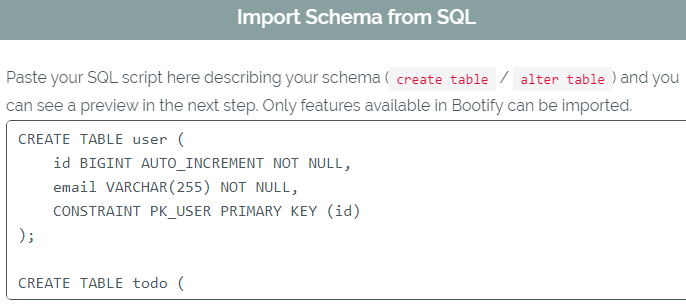
Import your existing SQL script to directly create the entities and relations from it. Only features available in Bootify can be imported.
Improve in iterations
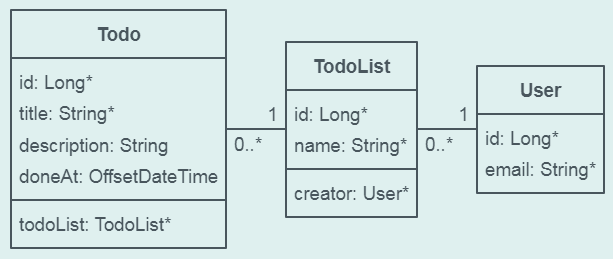
See the UML preview as you develop your database schema. Exchange with your team to improve your model before writing a single line of code.
3. Finalize and download your code
Create Enums
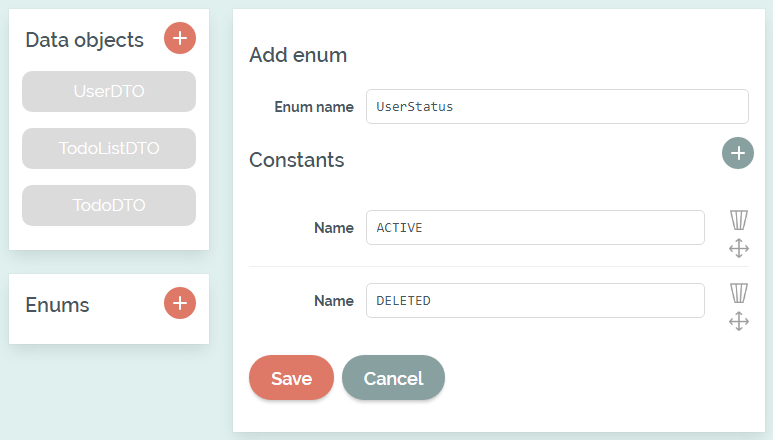
Enums can be added in the Data Objects tab. After its creation, the Enum can be selected as a field type at the entity.
Create Data Objects
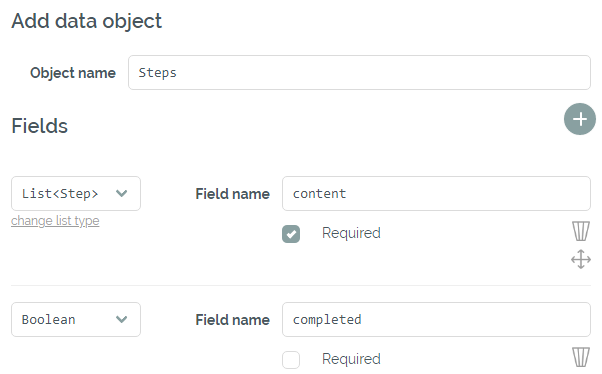
Data Objects are basically plain Java objects with a set of fields. These fields can refer other Data Objects as a field type, so it is possible to create complex structures. Data Objects are persisted as JSON when used as a field type at the entity.
Explore and download
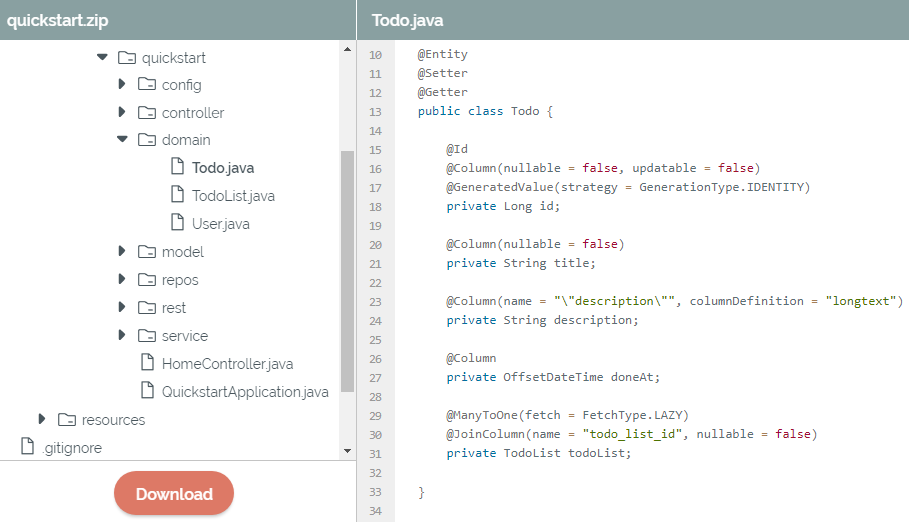
Explore and download your generated code - with JPA / Hibernate entities, @RestControllers and much more. Have a working application with your database schema directly in place - and focus on implementing business logic instead.
The second part of the quickstart is covering the features of the Professional plan. Check out the other articles and the documentation for technical backgrounds and tips on working with the generated code.
Start Project
No registration required
