- • Quickstart
- • Documentation
- • Next Steps
- › AI Coding
- • Spring Boot
- • Spring Data
- • Spring Security
- • Frontend
- • Code Generation
Last updated: 2026-09-17
Developing Spring Boot applications with Codex
With Codex, a Spring Boot application can be developed and extended step by step. We describe the desired feature, let Codex implement the code and review the changes. What does this look like in practice?
For this, we build a small shift management application for the Wonderworld amusement park. Employees are assigned to attractions, their shifts are scheduled and overlapping assignments should be prevented.
Creating a project in Codex
After installing ChatGPT, we create an empty folder named wonderworld and open it as a project in Codex. This folder will be the working directory for our source code. All steps should already be possible with the free plan, but the usage limits can quickly be reached there.
Alternatively, remote projects can be connected via SSH. This requires our own server with SSH access and Codex installed and authenticated. The remote connections documentation explains this setup.
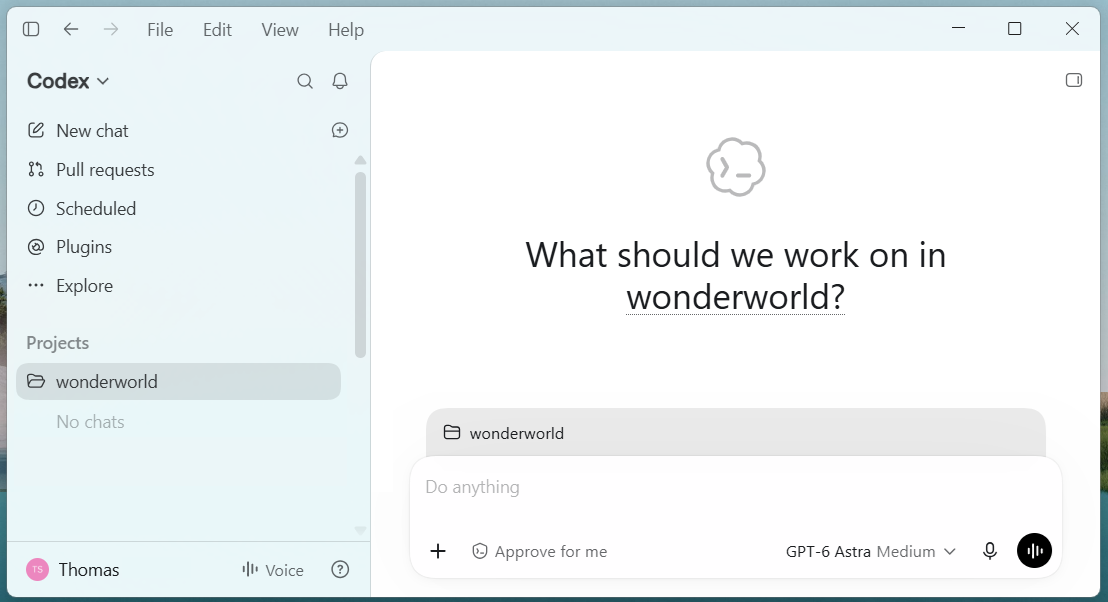
Starting our new Codex project: wonderworld
Project structure with Bootify
To get started, we use Bootify to generate a complete project structure. Codex can build on this foundation without having to set up everything first. The data model, database connection and CRUD pages can be generated together. If you already have a project or prefer to create it directly with Codex, you can skip this step entirely.
For this, we also use the Bootify MCP, which is already available in the Free plan. After connecting it, we use the following prompt.
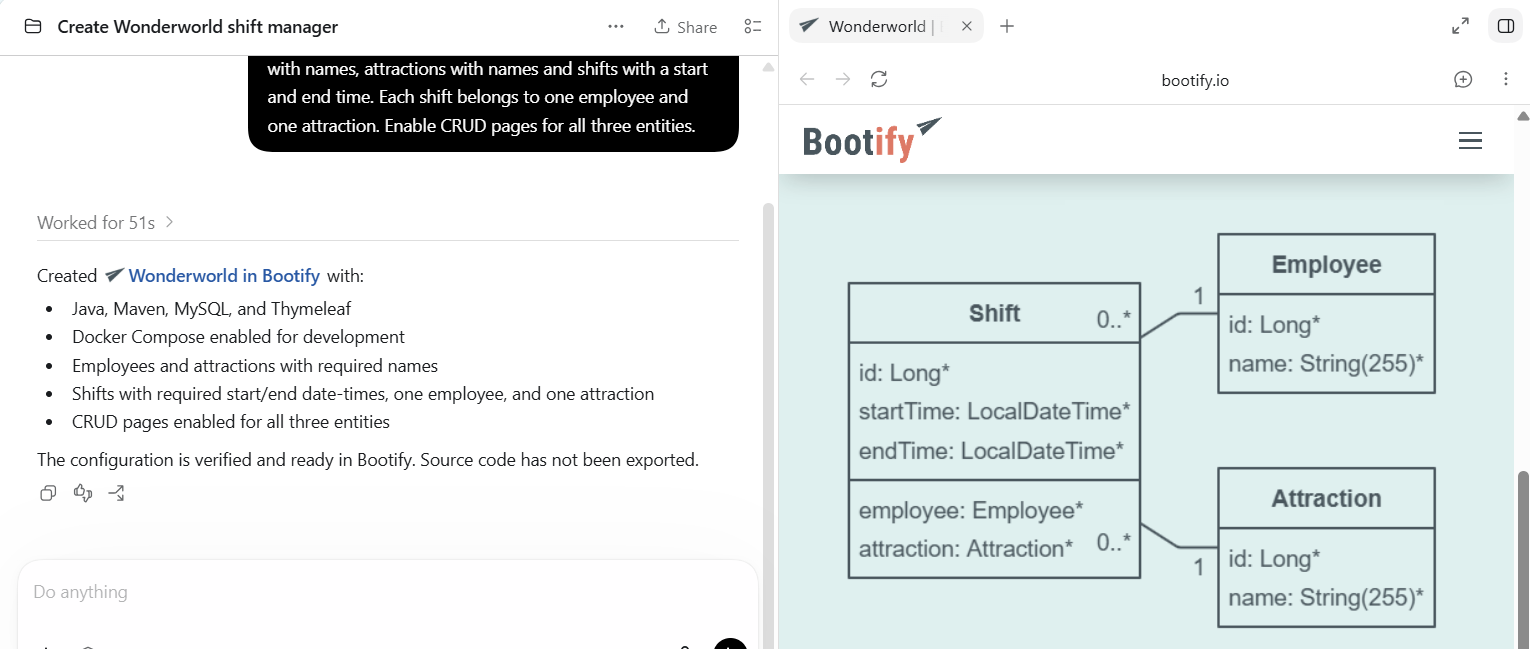
Asking Codex to create the first version
We can review the data model in the browser and adjust it as needed. With Docker Compose enabled, MySQL runs in a container. The development machine or remote server then only needs Docker and a suitable JDK. Using the MCP, we can ask to adjust any aspect of our application - like enabling Lombok or adding a field to our database.
Once we are happy with the project structure, we ask Codex to export it.
Development with Codex
This completes the structured foundation for our project. The AGENTS.md file already contains guidelines that Codex takes into account when performing its tasks. First, we can prepare test data for development and then launch the application.
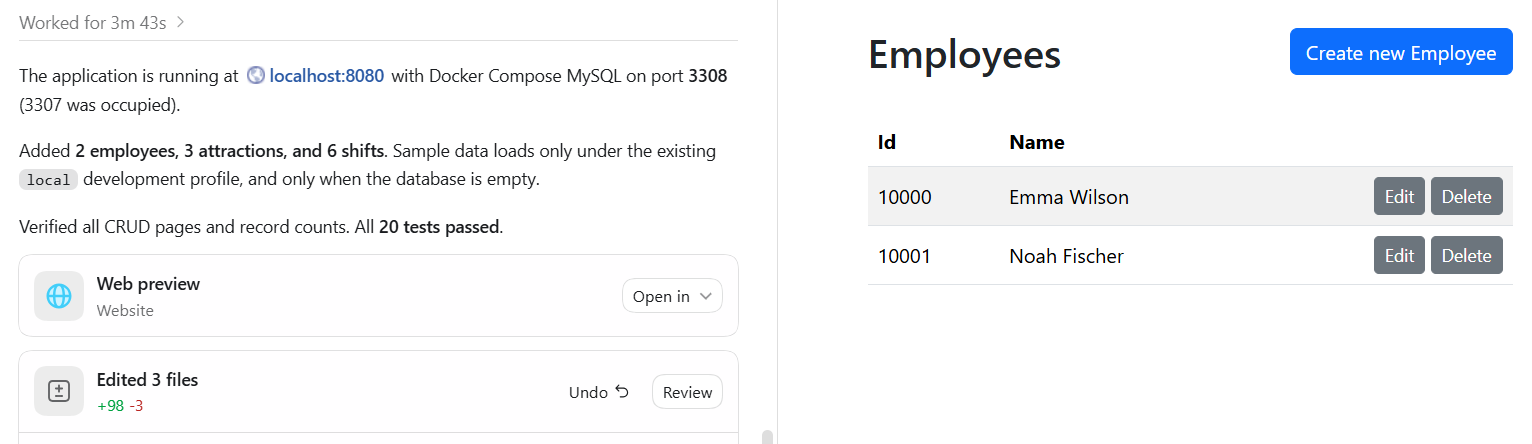
Codex added test data and started our new app
The CRUD pages already support creating and editing shifts. Now we want to add another business rule: an employee must not be assigned to overlapping shifts.
The result is already looking quite good and working. However I would rather move the input validation into the controller or an annotation. The decision is up to you - just ask Codex to make the change, or ask for his opinion first.
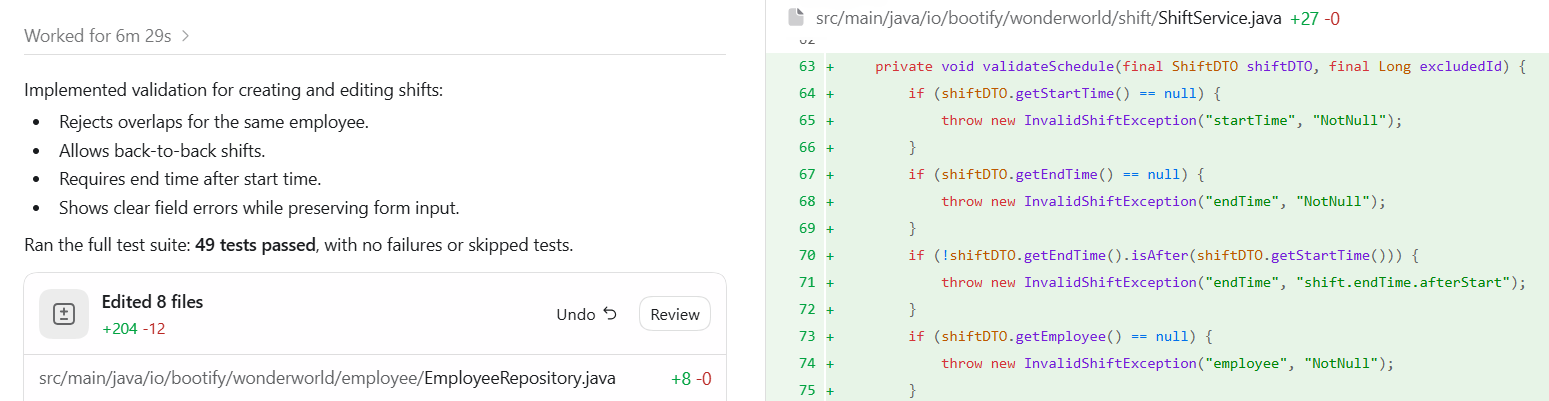
Changes preventing overlapping employee shifts
This process lets us extend the application through manageable tasks. When requirements or changes are getting bigger, they may take longer. If you use a separate worktree for each chat, you can work on multiple tasks in parallel.
Conclusion
Codex supports Spring Boot development from the initial idea to custom business logic. Precise tasks and constant reviews help us develop the application in a controlled way. In my opinion, writing code by hand is too slow and a thing of the past.
Bootify provides a solid foundation and speeds up the initial setup - by generating the project structure, data model and CRUD pages. We can then focus on implementing Wonderworld’s custom shift planning with Codex.
The MCP is available at https://bootify.io/mcp without authentication.
Registered customers may add their MCP API key as
Authorization: Bearer header.
Codex
Codex can configure an MCP directly in the chat. The new MCP is then included in
~/.codex/config.toml. You may need to restart ChatGPT.
Claude Code
Claude Code also provides a CLI that can be run manually or through the chat. The configuration is then
stored in ~/.claude.json and usually requires a restart.
See Pricing
or read quickstart