Last updated: 2025-07-23
Uploading custom files and templates
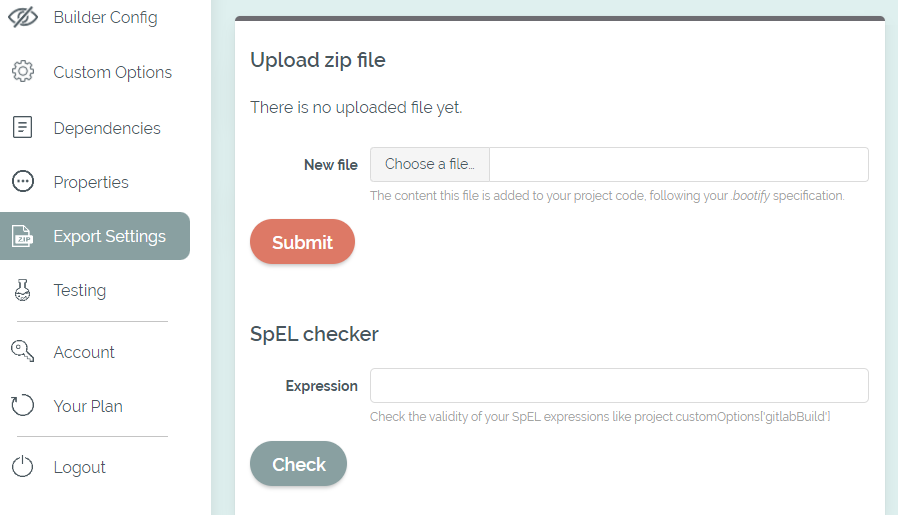
In the Custom Files tab, you can add your own files to the source code of your projects by uploading a zip archive. The zip may contain the following files:
- any files and templates to be added to the project output
- a .bootify file in the top-level directory that specifies the conditions under which files should be added
- a buildExtensions directory with template files to be included in your
pom.xml,build.gradle,build.gradle.ktsorREADME.md
During the upload, a basic validation of the .bootify file as well as the templates is performed. Changed files are immediately visible in the projects and are automatically provided to a connected Git repository with the next monthly export.

Upload a zip with your custom files
File handling
By default, all files in your zip archive are added to the output. Files in the root folder and below the buildExtensions directory are ignored. Included files can overwrite any regular file that would otherwise be created by the code generation.
The directory and file name in the zip archive defines the output path in your project's source code, except for the top folder, which is stripped. For example, a file /files/buildSrc/dependencies.gradle in your archive is written to your project as /buildSrc/dependencies.gradle.
If a file has the extension .ftl and a total of two dots (for example, myFile.txt.ftl), the content is evaluated as a Freemarker template and the .ftl extension is truncated when added to a project (myFile.txt). With only one dot (myFile.ftl) the files are written directly to the output without evaluation - in case you need a plain .ftl file.
The current project with its custom options is available, so a simple template could look like the following. More details about Freemarker in the official docs. The basic project structure with its available fields can be reviewed here.
An example Freemarker template with basic commands
.bootify schema
If present in the archive, the .bootify file must be valid YAML with the following structure:
An example .bootify specification
The rules are checked from the bottom up to the top against the files in your zip file, so the more specific rules should be at the bottom of the list. The pattern is required and defines on which files the rule should be applied.
The pattern is based on the glob syntax of the FileSystem class. For an explanation and more examples, see this link. The pattern must also take into account the top directory of your zip file (which is stripped when added to the project). This allows you to specify certain directories with your patterns and use different conditions or targets.
When the first matching rule is found for a file, the condition is evaluated to decide whether to add the file to the project's source code. If no condition is specified, it defaults to true. If you want to change the default behavior of adding all files to the output, you can add a general rule at the top of the list as in the given example above.
Conditions are written in Spring Expression Language (more details) with the project and its custom options available as parameters. Although the values of custom options always return a string, the values 'true' and 'false' are interpreted directly as a Boolean when returned from a condition. In more complex expressions such as the logical link with && or ||, however, the custom option must still be evaluated with == 'true'.
With the target property you can modify the target path and file name of your files. If not present, it defaults to currentPath + currentFileName and thus corresponds with the path in your zip file (excluding the top directory). The SpEL checker can be used for seeing what an expression evaluates to, using a project with default options in the background.
Build Extensions
In the buildExtensions directory of the zip archive, you can provide additional files that will be evaluated as a Freemarker template and inserted into your build file at a specific location. The generated README.md can be extended as well if you don't want to fully overwrite it.
Use the following links to find out the exact file names and locations for each build type:
So for example a file buildExtensions/gradleSingleRepositories.ftl allows you to add custom repositories to a Gradle project. For those files which are included in submodules of a multi-module project, the variables moduleId (for example "my-app-base") and moduleIdShort (for example "base") are available as well to add code for specific modules. Names and locations for multi-module builds are available on request.