Last updated: 2025-01-04
Entities tab - backgrounds
In the Entities tab the database schema of your Spring Boot application can be managed. Any existing schema can be created using the SQL import. Breakpoints can be configured to extend the database schema of a running application with dedicated changelogs.
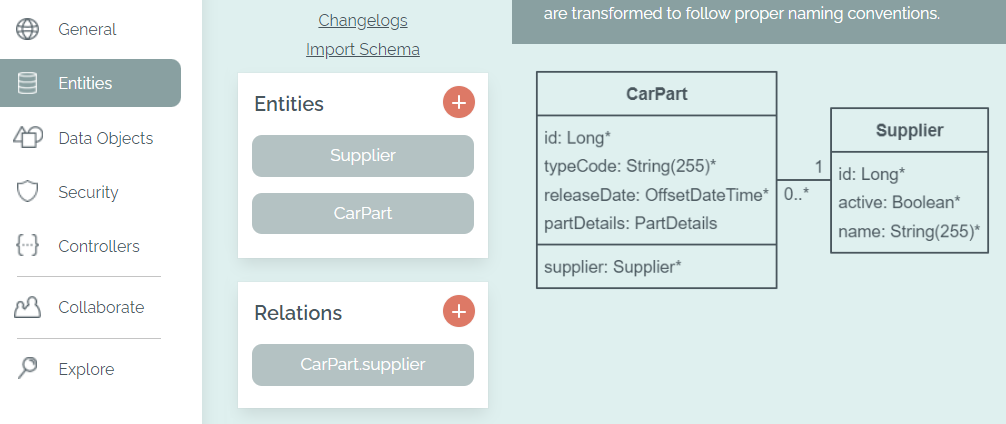
The Entities tab with a simple database schema
Entities
Initially, there are no entities in a new project. They can be added by clicking on the plus sign. After saving, the future tables are displayed in a UML preview.
When creating or editing an entity, the name can be specified first. This is automatically converted into the correct formatting for the Java class (pascal case "CarPart") and if necessary the table name (snake case "car_part"). If the name is a keyword in the chosen database system, an annotation is added to the table to quote it - e.g. @Table(name = "\"User\"") in Postgres. If MongoDB is chosen as the database, the entities are created with the @Document annotation.
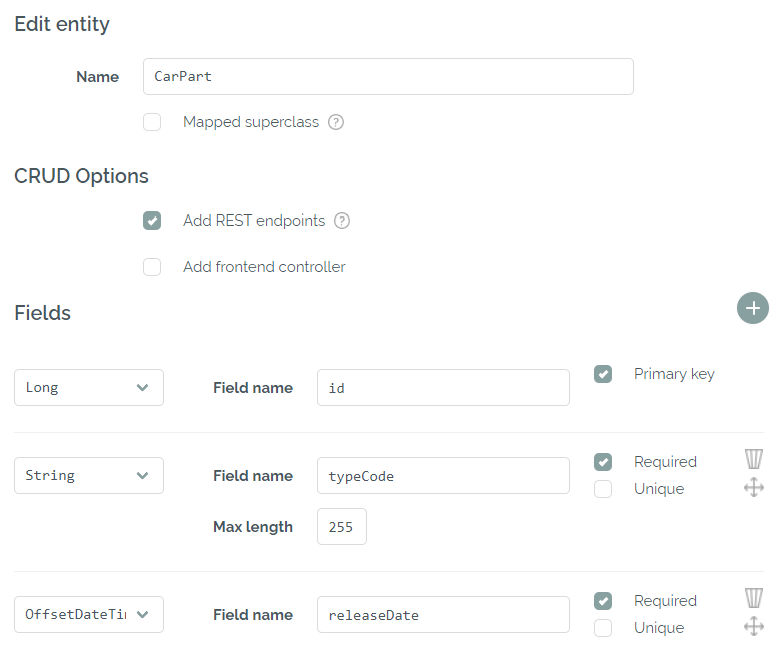
Editing an entity in the Bootify Builder
Any entity can become a mapped superclass with the respective checkbox. This will add the @MappedSuperclass annotation to class (or abstract class for MongoDB) and makes it available for extension by the other entities. A mapped superclass does not become a table itself, but does provide fields and relations for all entities that inherit from it.
The option "Add REST Endpoints" automatically generates a Data Transfer Object (DTO), a Service and a Resource class to provide a REST API with simple CRUD operations for the entity. The DTO contains annotations to validate the specified contraints (e.g. @Size(max = 255) or @UserEmailUnique) provide a proper error to the client.
The option "Add frontend controller" is only available when a frontend has been selected for your application in the General tab. It will add a Controller with Thymeleaf templates or Angular components and services to the code. If Angular is your frontend stack, die REST endpoints are always required for enabling CRUD for the frontend.
In the Professional plan, additional checkboxes for pagination, sorting and a search filter are available and will be applied to both, REST and frontend controllers.
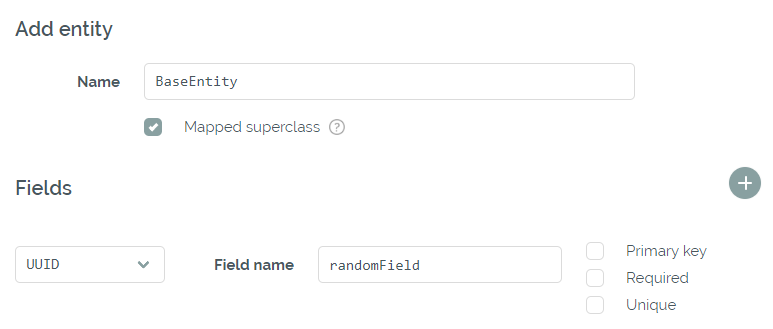
Adding a mapped superclass
A total of four types are available for the primary key. Integer and Long (default) are generated by the database via a sequence. UUID is filled by Hibernate's UUIDGenerator before the first persistence. String must always be provided by the application or REST endpoint and, as a primary key, can never be updated.
For the other fields, many more simple types are available, e.g. Boolean or LocalDate. In addition, Enums and Data Objects created in the Data Objects tab can be selected. Enums are always written to the database as strings, whereas Data Objects are persisted as JSON fields using the SqlTypes.JSON Hibernate type. List and Map are persisted as JSON as well. If the list type is String or BigDecimal, max length / precision / scale can also be specified - this will add validation constraints directly at the subtype.
Relations
After the first entity has been created, relations can also be added to the database schema. The available types are One-to-One, Many-to-one, One-to-many and Many-to-many. Appropriate JPA annotations are added based on the selected type - check out JPA relationship types with examples for more details. Circular references are possible, but not all of them are allowed to be required - this would make it impossible to persist any values.
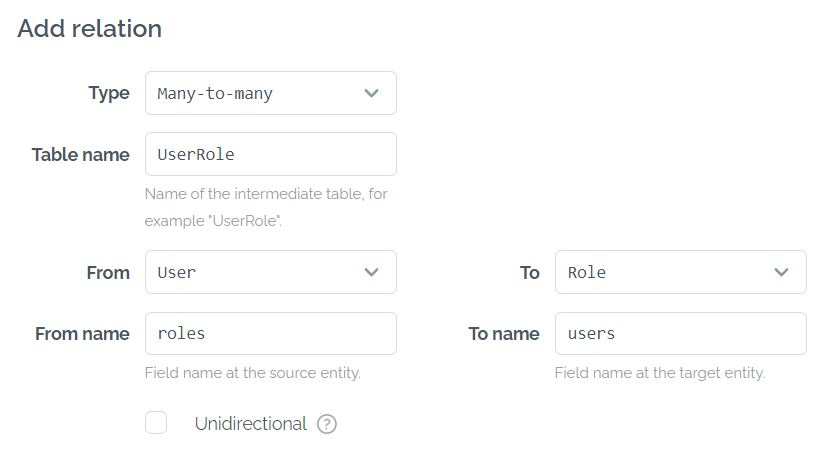
Adding a many-to-many relation to our project
If MongoDB is chosen as the database, relations are added to entities with @DocumentReference. This way MongoDB uses a manual reference internally, while the developer can still directly access the referenced document - more backgrounds here.
Changelogs
The link to the changelogs is available in the Professional Plan if Liquibase, Flyway or Mongock has been selected as the schema migration tool.
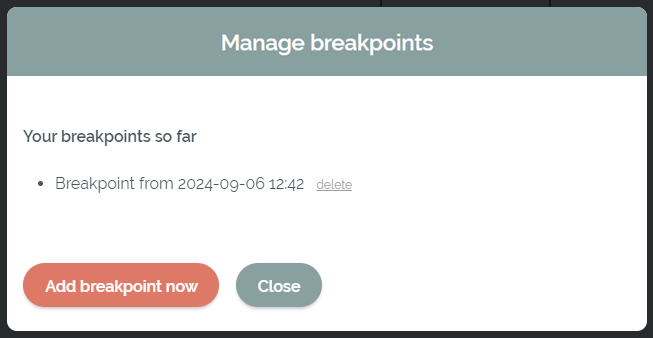
Management of the breakpoints of the current project
New breakpoints can be added to the project here. All changes to the database schema or the metadata (e.g. changes of the naming strategy) - after the last breakpoint - are written to a new changelog. This allows to extend an already running application with an existing database schema.
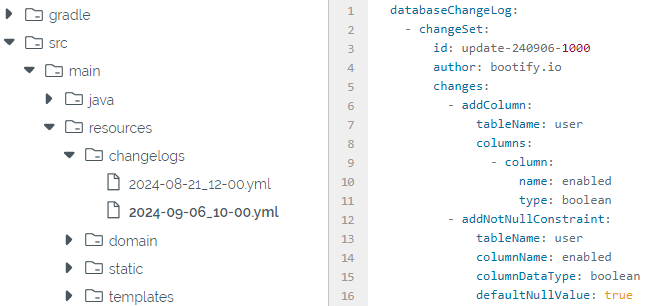
All adjustments in a dedicated changelog
Changes of the database itself (e.g. from Postgres to MySQL) are not supported. Changes to the data itself must be reviewed, as the code generator cannot know how to handle the gaps after modifications. Relations are recreated if the type or one of the connected tables has been changed.
It is recommended to export the changes via the Git export, if this feature is used in your project. Any development work can be based on that changes, so you can avoid merge conflicts later on.
SQL Import
Using the SQL Import of the Free plan, the entities and relations can be created directly from a SQL script. The link "Import Schema" in the Entities tab opens a modal into which the script can be copied. The relevant entries from the script are automatically parsed (starting with CREATE TABLE / ALTER TABLE).
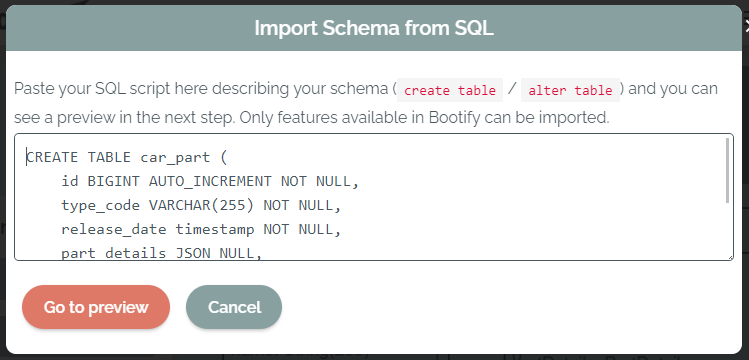
Paste your SQL script to see a preview
In the next step, you will see a preview of the recognized schema and the possibility to activate CRUD options for your new entities. The frontend option is available after a frontend stack has been selected. In the Professional plan, the options for pagination and the search filter can be preselected as well.
If your current project has the date fields enabled and they are contained in all tables of your SQL script, they are filtered from the imported schema. By confirming the import any existing entities and relations will be overwritten.
If the application should be connected to an existing database later, it is recommended to set the DB Generation to None (validate) in the General tab. This will cause Hibernate to compare the entities with the actual database schema when starting the application and throw an exception if necessary. Minor adjustments are usually still needed in order to map the field types without errors.
Start Project
No registration required